A lot of my clients have a substantial amount of their data in FileMaker databases. Analyzing that data or running machine learning algorithms on it is often impractical to do in FileMaker itself due to the lack of available modules, data structures as well as for performance considerations (although it can be a fun exercise, as constraints make you creative :-)). So what to do when you want to work with FileMaker data but still run your algorithms in python? This article helps you setup an ODBC connection, read the data from a FileMaker data source and transform it into a Pandas DataFrame.
Prerequisites
- FileMaker Pro
- FileMaker data file
- FileMaker ODBC driver
- ODBC Manager/Administrator (for convenience)
- pyodbc
(all tested on a macOS 10.11/El Captian)
Setting up the FileMaker parts
To connect to FileMaker via ODBC we need the FileMaker ODBC driver. It is located in the installer package:
/FileMaker Pro 15 Advanced/Extras/xDBC/ODBC Client Driver Installer/FileMaker ODBC.pkg
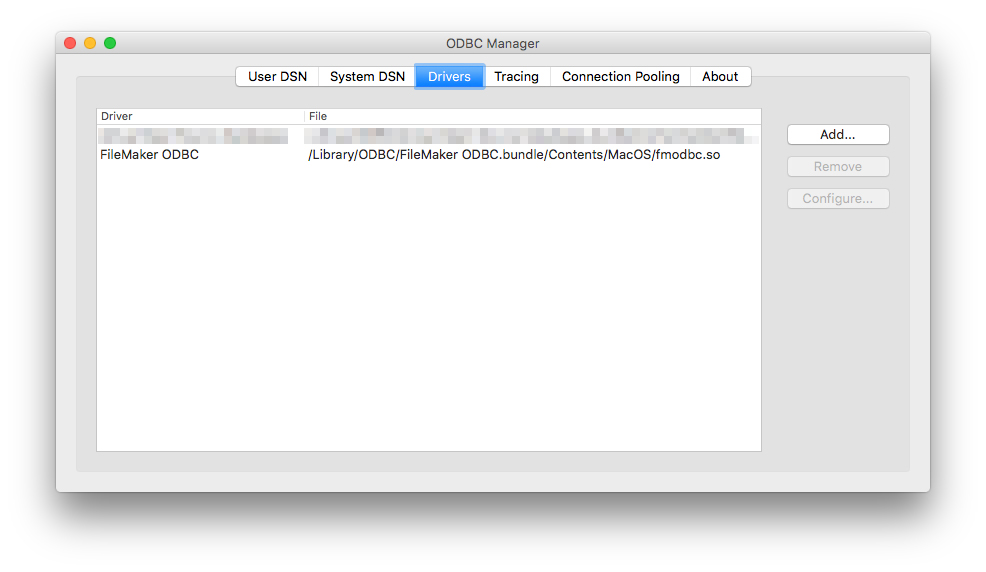
Let’s go ahead and install the driver. After a successful installation, we should be able to see it in our ODBC Manager.
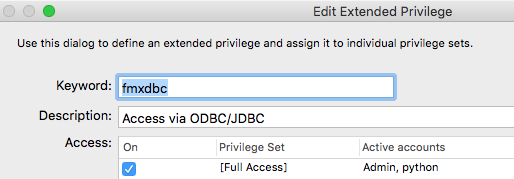
Now that the driver is installed we need to prepare the actual FileMaker file for being accessed via ODBC. Create a new user account (we will use that for our connection string later on) in FileMaker and assign it a privilege set (if you’re just testing, choose the [Full Access] to prevent access rights issues). It is important that we check the fmxdbc extended privilege for the chosen privilege set.
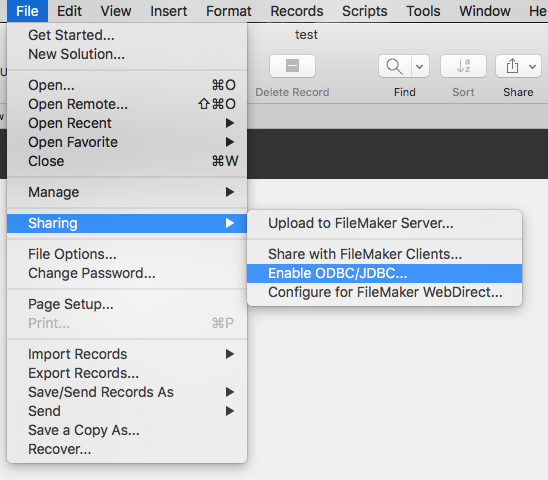
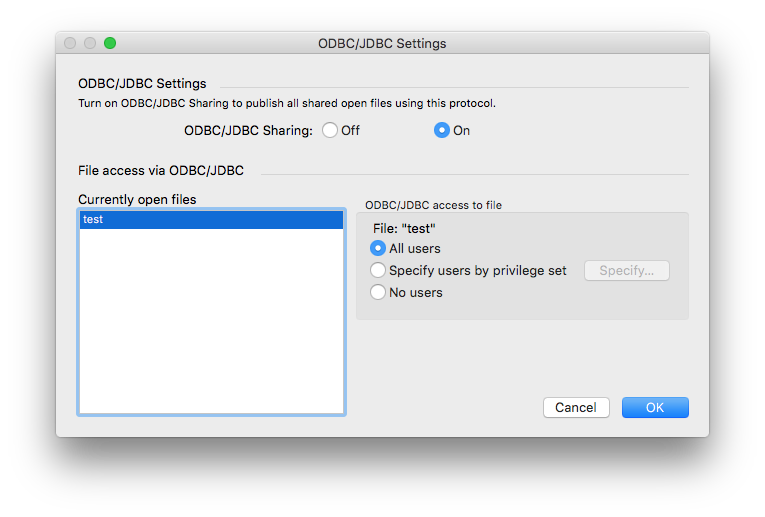
Next we enable ODBC. For that we open the menu under File -> Sharing -> Enable ODBC/JDBC…, switch ODBC/JDBC Sharing on and then allow all users or the users of the privilege set that we have created in the previous step.
Setting up the DSN
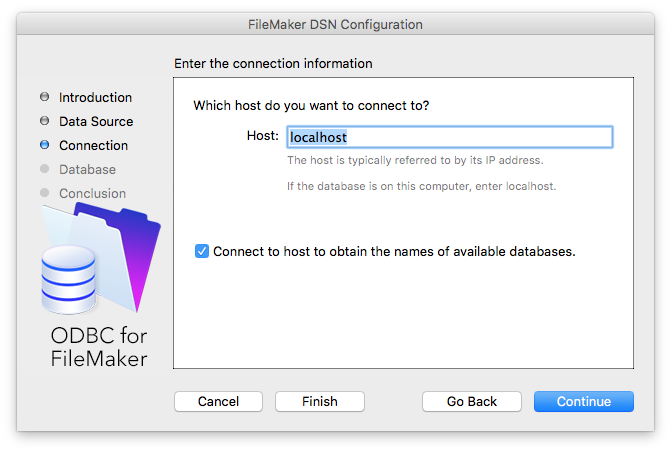
In the ODBC Manager we can now create our data source name (DSN). Click on “Add” in either the User DSN or System DSN section and select FileMaker ODBC as the driver. The process of configuring the DSN is straight forward. We give it a name, set the host (in our case localhost) and choose the database we want to connect to (before finishing the wizard, click on “Test” to verify the connection is OK).
Setting up the Python parts
To connect to our FileMaker database we need the open source Python module pyodbc. Either install it via pip install pyodbc or build it yourself.
Phew! Now our clicky-setup is done. Let’s switch to our editor and write some code.
We will import pyodbc, setup our connection string with the DSN name, FileMaker account name and password (just like we defined it in ODBC Manager and FileMaker), execute our SQL statement, print the result, and – important – close the connection.
import pyodbc

connectionString = "DSN=TestDSN;UID=python;PWD=python"
connection = pyodbc.connect(connectionString)
cursor = connection.cursor()

rows = cursor.execute("select field1,field2 from Test")

for row in rows:
    print row

#=> Should print something like this:
#(5.1, 3.5)
#(4.9, 3.0)
#...

connection.close()
Transform the data into a Pandas DataFrame
Now that we have access to our data, we want to work with it. At first I wrote a function to process the cursor and map the data to a DataFrame myself. But what is even easier is to use Pandas’ read_sql, which you can feed a SQL statement and a connection and get a DataFrame back, like this:
df = pd.read_sql("select field1,field2 from Test",connection)
print df

#=> Should print something like this:
#      field1   field2
#0        5.1      3.5
#1        4.9      3.0
#...
And what about writing?
Of course you can also write data back to FileMaker via ODBC. Unfortunately though, it’s not as easy as doing a DataFrame.to_sql because there is no SQLAlchemy support for FileMaker.
For my use case I only needed to write single values back, so I ended up building the SQL query “by hand”:
cursor.execute("update Test set class=? where someField=1234",prediction[0])
connection.commit()
✉️ Have a comment? Please send me an email.