
I recently bought an Intel NUC8i7HVK to work as an ESXi host. In this post I walk you through the process of installation and initial setup.
Hardware
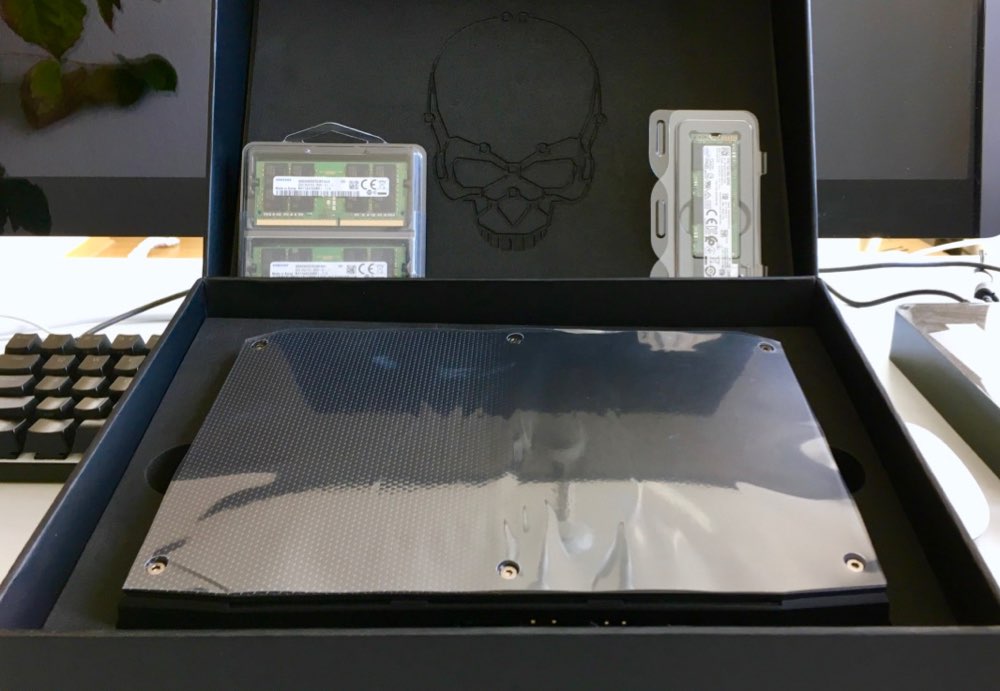
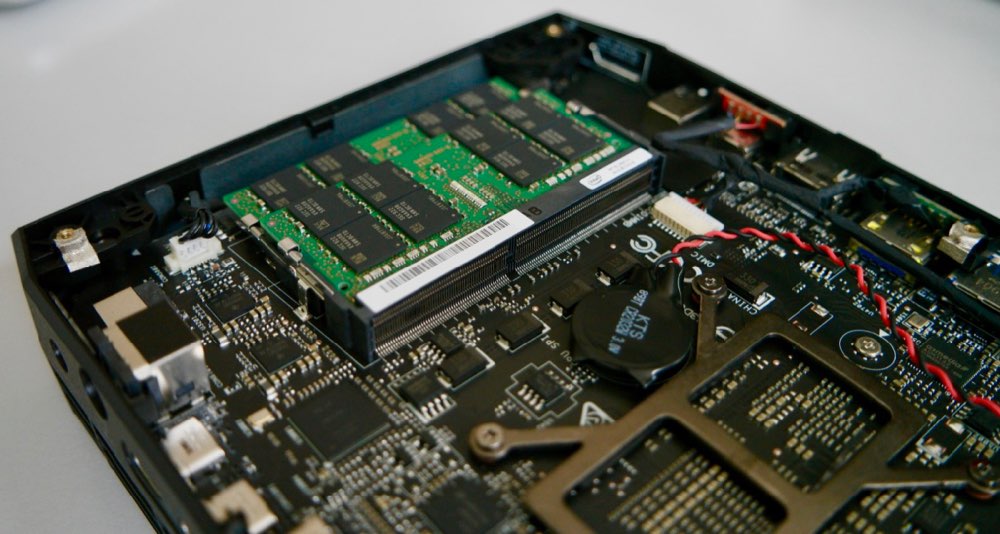
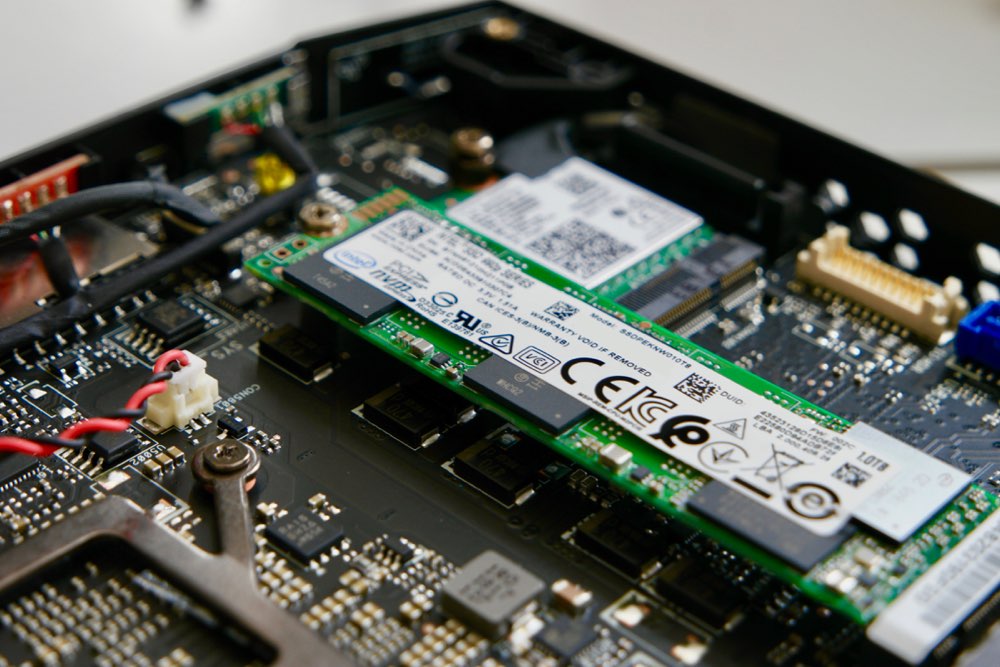
The NUC8i7HVK is the top-of-the-line model of the NUC kits and comes with an i7-8809G processor. It ships with neither memory nor storage, so picked up the following additional components:
- 2 x Samsung 32 GB DDR4-2666, SO-DIMM (M471A4G43MB1-CTD)
- 1 x Intel SSD 660p Series 1.0 TB, M.2 80 mm (SSDPEKNW010T8x 1)
- 1 x SanDisk Ultra Fit 16 GB (SDCZ430-016G-G46)
An interesting fact to note: in the official specs, Intel mentions 32 GB as the maximum memory size. However, with 32 GB sticks now readily available and 64 GB being listed as the maximum memory size for the i7-8809G, I gave it a shot and installed 2 x 32 GB of RAM. It worked without issues.
The 16GB USB stick listed above was intended for installing ESXi onto it (and transport some BIOS update). I used an additional “throw-away” USB stick for preparing the ESXi ISO. You can find more details in the description that follows.
Unboxing
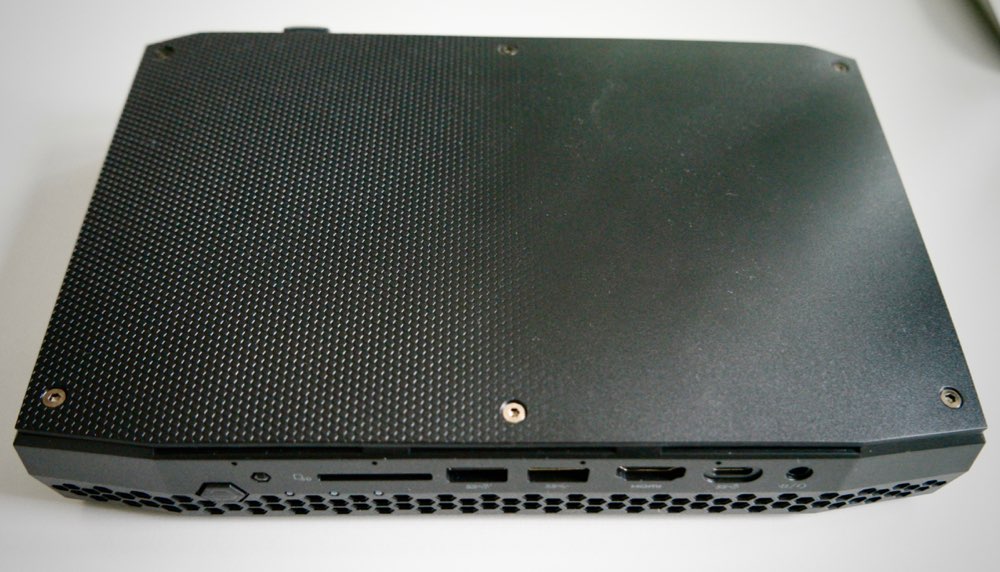
There’s not much to say. Putting in the SSD and the RAM is a straight-forward process. The “IKEA-style” manual that comes with the NUC also shows you which screws to remove. Here are some pictures:


Preparing a bootable USB stick
You can download the ISO image of ESXI 6.7 from vmware (download is available after registration).
tags.tiqcdn.com on your block list, stop wondering why the download won’t start :-)To make a bootable USB stick (any you have lying around), you essentially format the stick, copy the ESXi image onto it, and create a syslinux.cfg. If you are on macOS and want to skip some typing, have a look at this Makefile: https://github.com/cbednarski/vmware-usb-osx.
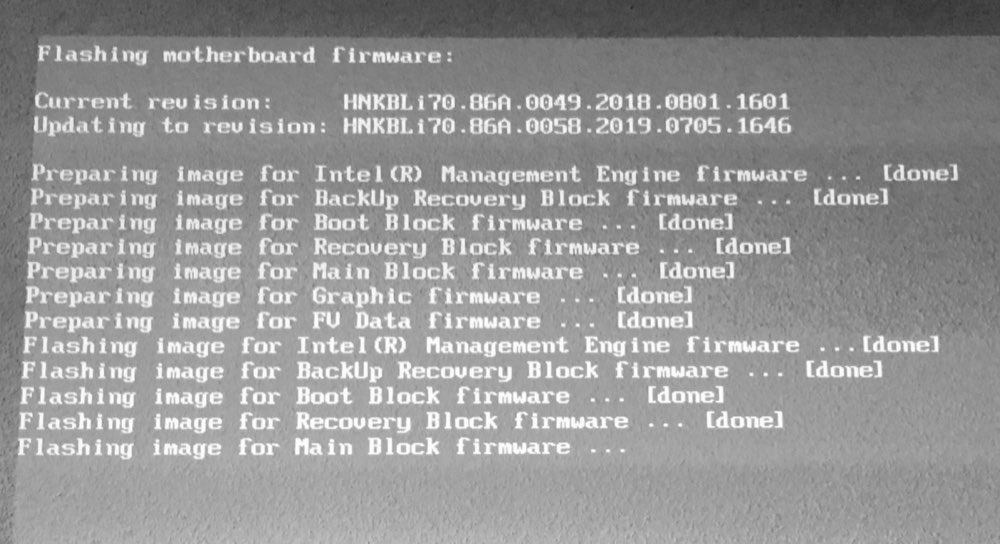
Download latest BIOS
Your NUC probably doesn’t ship with the latest BIOS, so go to Intel’s download center to get it: https://downloadcenter.intel.com/download/28953/BIOS-Update-HNKBLi70-86A-.
Then copy the BIOS onto your “good” flash drive (in my case the SanDisk stick).
First boot
Plug the USB stick with the latest BIOS on it into the NUC and boot into the “Power Button Menu”.
This menu of the NUC can be entered by pressing the power button for 3 seconds while it is in off-state (i.e. not hybernation). From the on-screen menu, it will let you pick “Update BIOS” [F7] or enter Visual BIOS [F2]. Follow the instructions and select the BIOS from the inserted USB stick.
I didn’t have a spare screen, so you are seeing it projected against my wallpaper 🤓
Once the update is done, shut down the NUC, then insert the prepared stick with the ESXi ISO (in addition to the SanDisk stick). Then boot the NUC again.
Boot into ESXi installer
The NUC should now boot into the ESXi installer (if it doesn’t, go back to the BIOS and manually select the boot drive).
The install itself is pretty self-explanatory (license, keyboard layout, password, …). As the installation target, select the SanDisk stick. It will be wiped and remain in the back of the NUC for good.
After the install, there are a few things you may want to setup before moving your NUC to its final place (and in my case, disconnect it from the projector :D). Under F2 -> Configure Management Network -> IPv4 you can set a static IP, under ... -> DNS you can set your DNS server and hostname (if you’d like to statically assign it here).
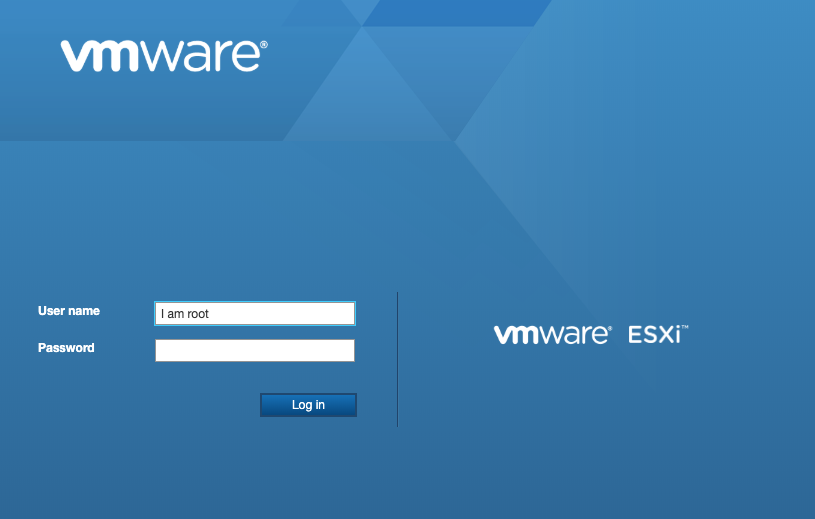
Accessing the Web UI
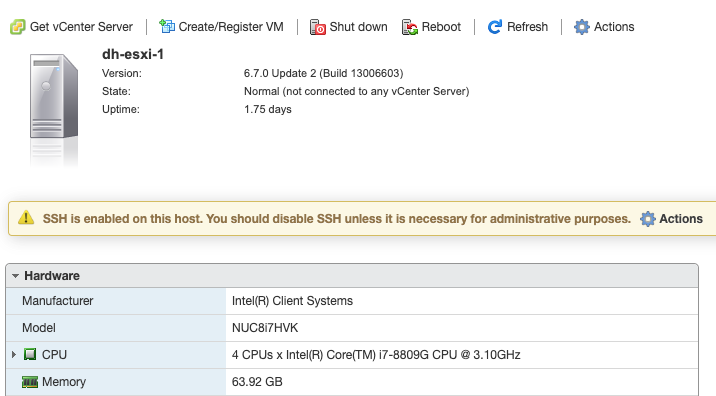
If you followed along, you should now be able to access the web client by going to https://<assigned ip>. Have a quick look at the basic settings like Time & Date (e.g. set a ntp server), maybe enable SSH, maybe enter a license key (without it, it’s a 60 day trial. You should find a license key for the free version in your vmware account).
One last tip about the SSH access: you can access the ESXi console (the one you would see when having a display connected) by running dcui. To pass function keys over the SSH session, find the escape sequence for the needed key by using tput. For example tput kf2 for F2, which could be passed as Ctrl+[OQ.
✉️ Have a comment? Please send me an email.